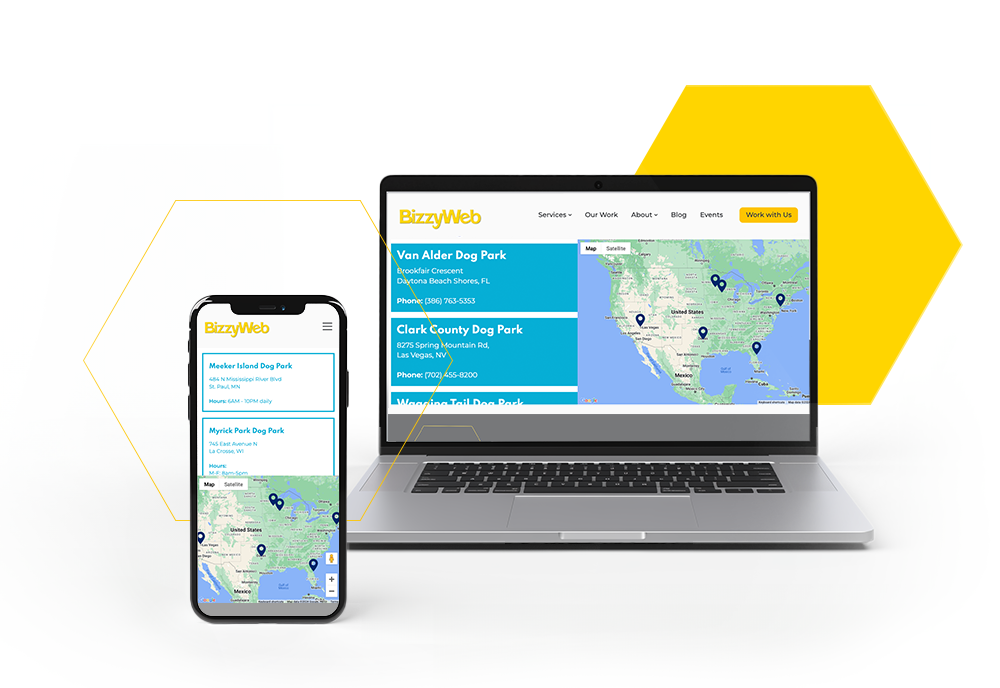
Preview
Store Locator
Features
Quickly and Easily Input Your Location Details
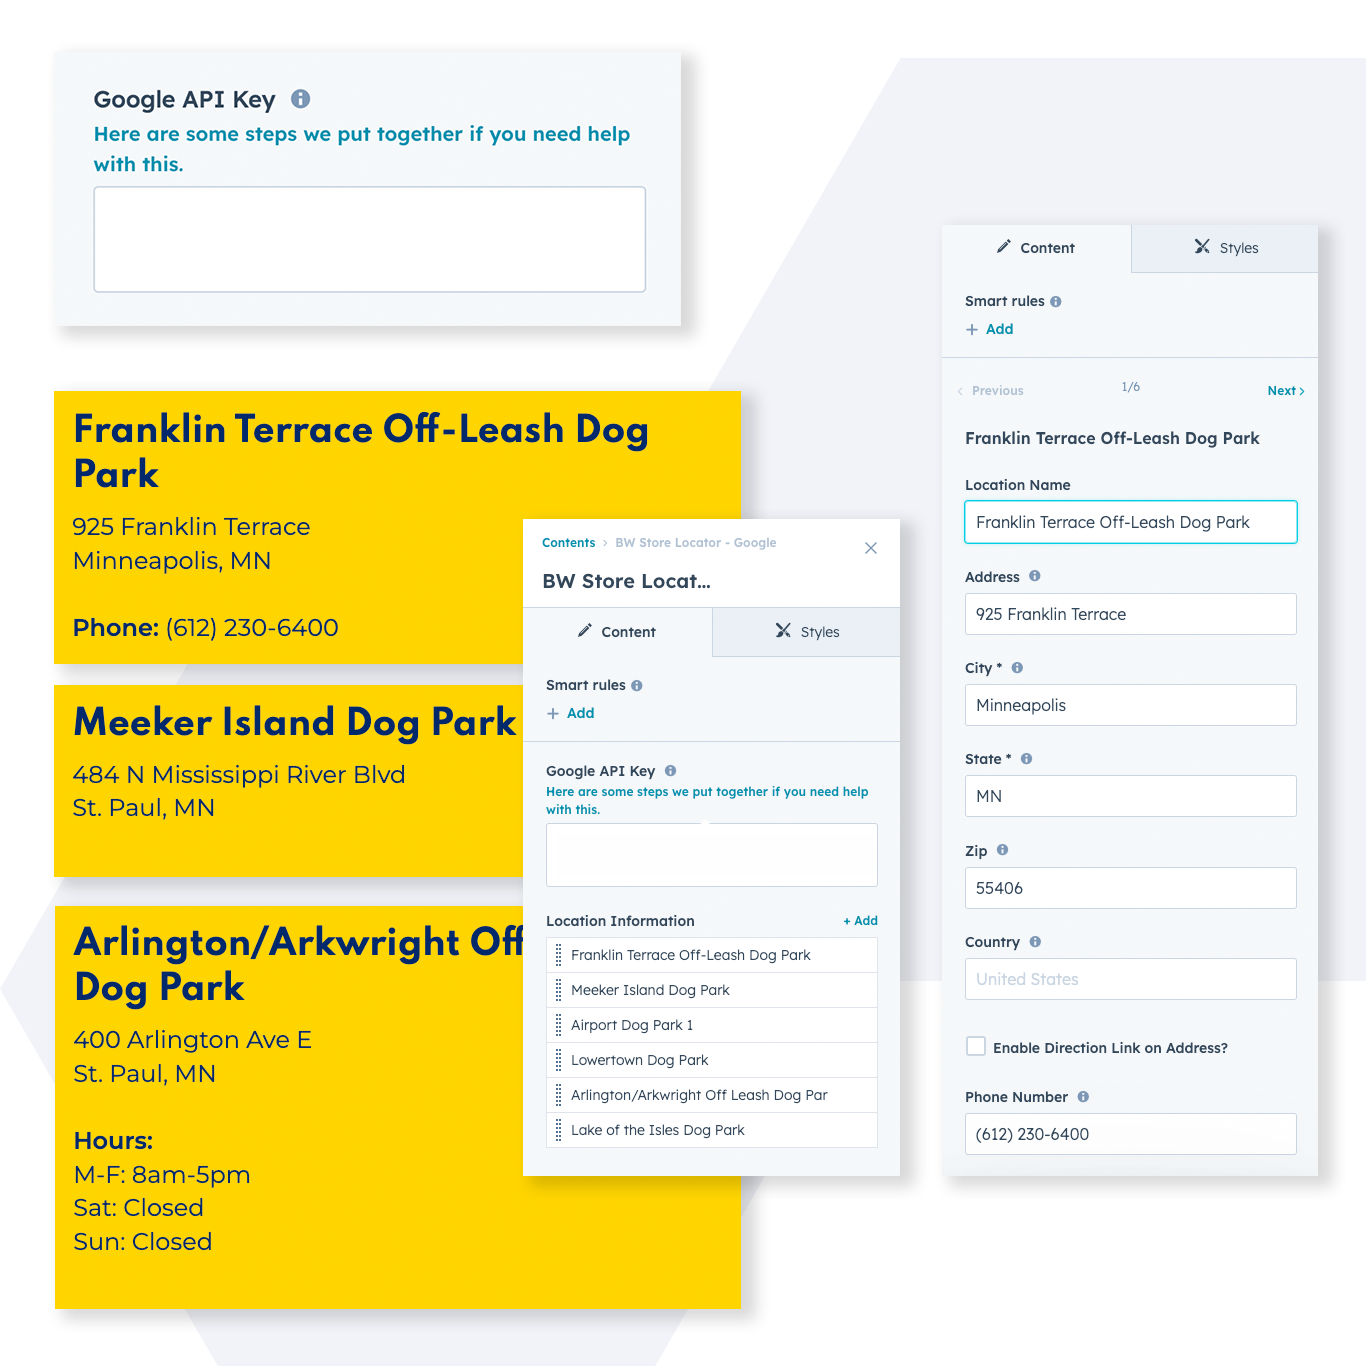
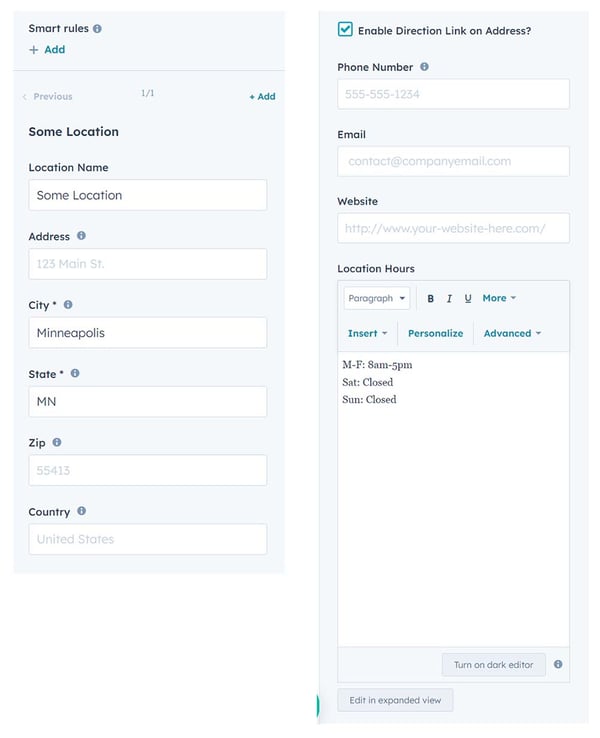
Location Information
This is the place where you can easily input all the necessary information for each of your locations. While the City and State are the only required options for accurate placement of markers on the map, it's highly recommended to include a Location Name as well. You have the flexibility to include additional details such as a phone number, email address, website link, and business hours. Feel free to provide as much or as little information as you prefer.
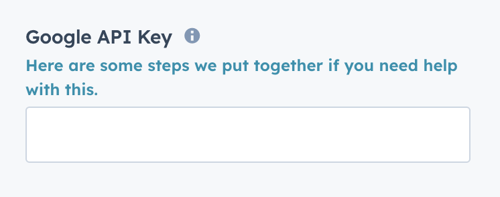
Google API Key
The locator requires the use of a Google API key. Google Cloud offers initial credits free, but continued usage of the API is a paid service, with pricing based on usage. To get your API key, register on Google Cloud, enable the required APIs, and then insert this key in this field. We put together something a bit more detailed to help walk you through this process if needed. Check it out here.
Awesome Customization
Map Marker Styles
Enhance your map's visual appeal and relevance by changing pin colors or using custom images. For instance, if you're dealing with real estate, consider using mailbox images to represent homes. This personalized touch not only adds character to your map but also makes it more intuitive and user-friendly for your audience. The process is simple and allows for creative ways to visually represent different locations or services.
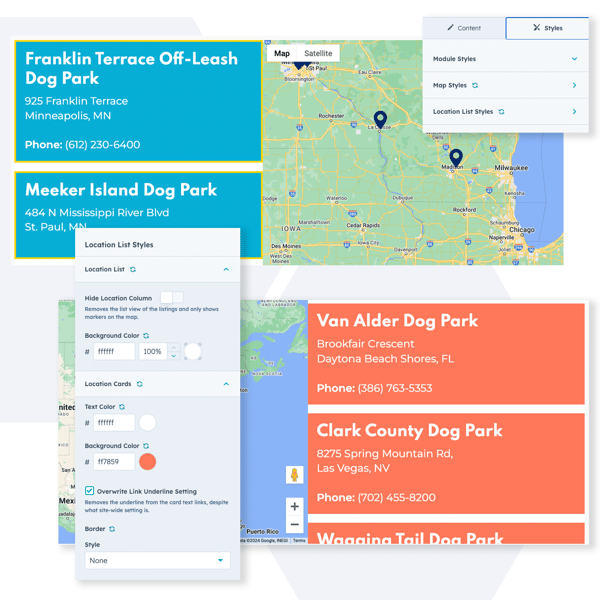
Location List Styles
Once you've entered the names and details of your locations, unlock the power of the "Styles" tab to customize your map even further. Choose your own unique color scheme for the background of the card section, as well as the background color, border color, and border width for your location cards. You can even personalize the color of the text to match your brand.
With all your settings in place, simply hit "Publish" and watch as your visitors start flocking to your map in no time at all!
Store Locator Quick Start Guide
Content Tab
Google API Key
The locator requires the use of a Google API key. Google Cloud offers initial credits free, but continued usage of the API is a paid service, with pricing based on usage. To get your API key, register on Google Cloud, enable the required APIs, and then insert this key in this field.
We put together a little something to help walk you through this process if needed. Check it out here.
Location Information
This is where you can set up each of your locations' information. To add more click the +Add link.
- Location Name - The name of the location
- Address - Street address of the location
- City (required) - City of the location
- State (required) - State of the location
- Zip - Postal code of the location
- Country - Country of the location
- Enable Direction Link on Address? - When enabled it turns the address into a link to Google Maps.
- Phone Number - Phone number of the location
- Email - Email address of the location
- Website - Website's URL of the location
- Location Hours - Rich text editor to list the location hours
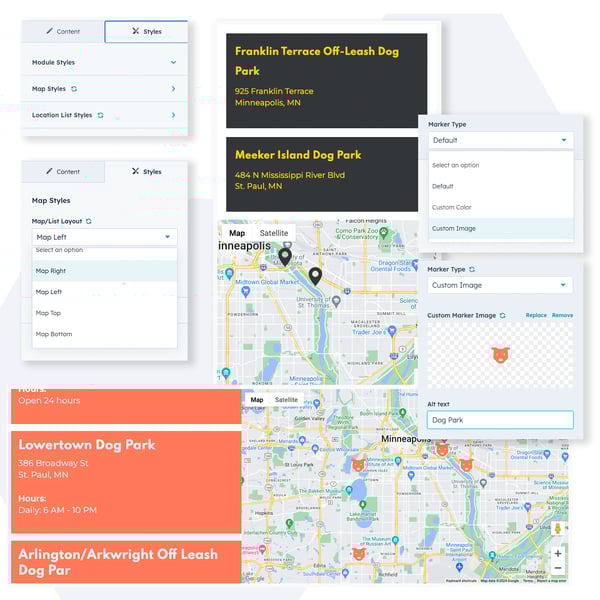
Styles Tab
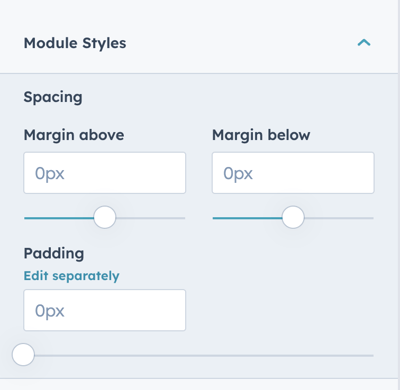
Module Styles
Map Styles
Map/List Layout - You can customize the map layout in this section. Choose to position the map either to the right or left of the store list, or set it above or below the location list.
Map Marker Styles
Marker Style: Default, Custom Color, Custom Image
- Default - The default is the standard red pin that Google uses.
- Custom Color - changes the pin to one that the color can be changed on.
- Custom Image - allows upload of a custom image. You will need to crop the image to be the correct size for your map. This can be done in the editor

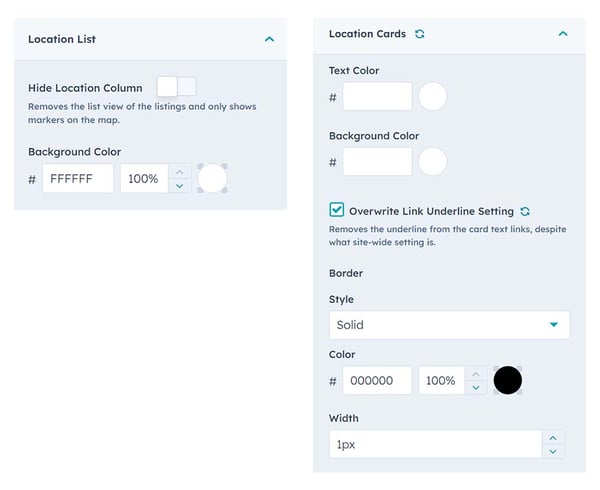
Location List Styles
Location List: Adjust the background color of the location list here. Alternatively, you can choose to hide the location list, displaying only the map.
Location Cards: Customize the text and background color of the cards in the location list. You also have options to set the border style, color, and width